January 27, 2015

A BOMB BOMBER // #RIGELBOMBERJANUARY

There's been a bit of radio silence over here (and in my sewing room) because this jacket took some serious time and some serious brain power (I pondered the lining insert for longer than necessary) - but I finished my Rigel Bomber just in time for #rigelbomberjanuary!!!

This also has to be my most favorite make to date (and I've worn it three days in a row - including RIGHT NOW)!

Pattern: Papercut Patterns Rigel Bomber
Size: Medium
Modifications: Added full lining, rather than facing
Fabric: Viscose poplin from Blackbird Fabrics, Navy cotton/poly ribbing, Rayon bemberg/Ambience lining, Warm and Natural batting, 14" YKK zipper
Worn with: Ginger jeans
I've seen versions of the Rigel Bomber floating around the interwebs ever since the Constellation collection was released - but I never had a ton of motivation to whip one up. Enter Gingermakes (with Mel and Kat) and the #rigelbomberjanuary challenge!
Sonja provided ample inspiration, and my previous thoughts of a floral bomber changed to some sort of quilted bomber ala The New Craft Society. I also channeled heavy inspiration from Bimble and Pimple, and chose this amazing viscose poplin from Blackbird Fabrics.
The fabric was pretty flimsy for a jacket, but so soft and drapey. I quilted the front and back, with 1" squares on the diagonal, using a guide (I'm not even sure if it's supposed to be used that way...). I didn't quilt the sleeves (I do live in Southern California and it's not ever that cold), and they're substantial enough with the lining. I love the structure the quilting gives to the jacket - it makes it much more functional.


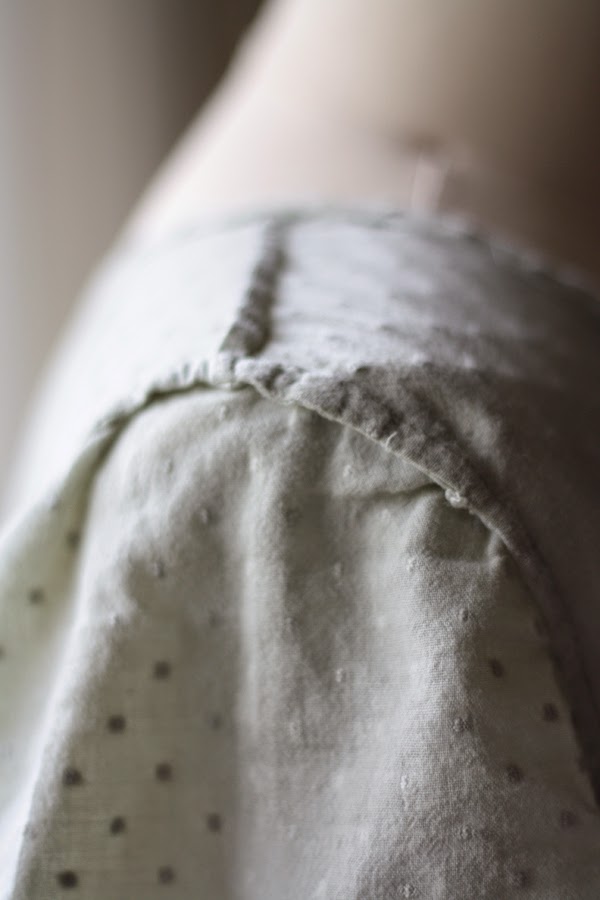
I sewed together the shell pretty much according to the directions (welt pockets weren't as hard as I feared!). I highly recommend basting in the ribbing - but next time I would do it after the zipper installation (the directions have you sew in the neck ribbing before the zipper). I ended up having to rip out and readjust the neck ribbing, and it would've been easier to place with the zipper already in.


After seeing the New Craft Society bomber, I figured I would sew in the lining without the facing. But after seeing Sewn By Elizabeth's version, and how she lined it - I began to worry a bit (especially after seeing others' examples with the lining + facing). Unfortunately I didn't cut my fabric very well and didn't have enough to cut the facing anyway - so I went without. Because my lining matches the shell, I love it as is - but if you were using contrasting/clashing lining, the facing might be a good idea.

To make my lining, I just cut the front, back and sleeves from my lining fabric - no changes/size differences. I did use Elizabeth's methods a little bit - in that I sewed the lining to the shell along the bottom first (right sides together), then flipped it up to sew along the bottom edge, up the zipper, around the neckline, and back down again.

I left the both sets of sleeves separate and turned the jacket inside out that way. I also knew that no one would see the inside of the sleeves, so I serged the cuffs onto both the shell and lining as one (so you can see serging inside the cuffs).

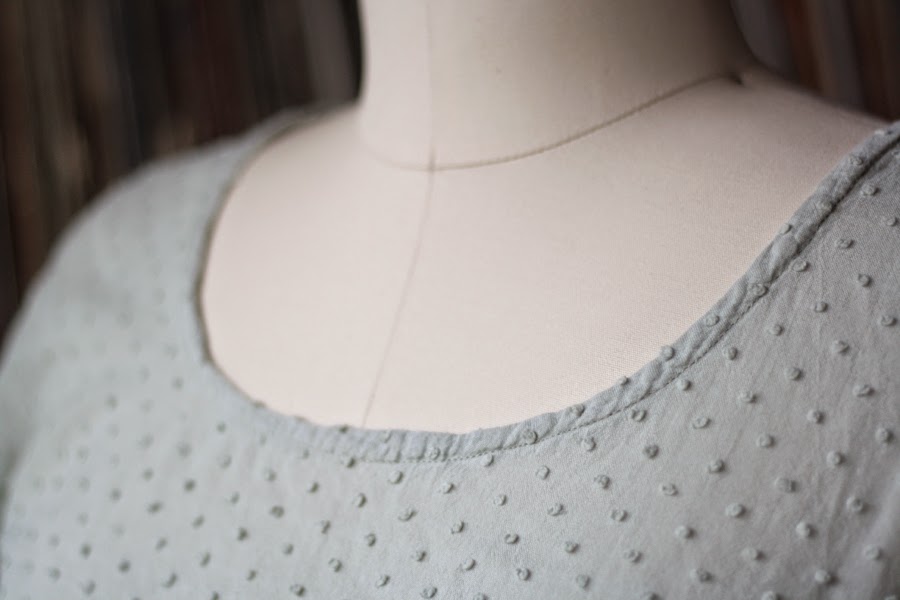
I love, love, love this jacket and it really does feel like one of my more accomplished makes - quilting, welt pockets, full lining, and an awesome zipper?! It makes me feel like a sewing superstar! Changes for next time would really only be to lengthen the sleeves 1-2" (why didn't I listen to everyone else?) and to possibly raise the neckline (it's lower than my v-neck T-shirts).

Did you participate in #rigelbomberjanuary? I can't wait to see everyone's!
 
Some bonus pics of Jeremy's succulent garden...


January 16, 2015

FRIDAY ARCHIVES // GRAINLINE SCOUT TEE

It was a Merry Christmas for me because I got a dress form!!
I've been sewing pretty much non stop since the spring of 2013, and I've only had this blog for a few months. Because of that, I have a lot of makes that may never see the light of day here for one reason or another. A lot of my early makes are still (well) worn, and some have never been out of the house (fitting issues, bad fabric choices, etc.). I wanted to be able to archive my older makes - and so Friday Archives is born!

Plus I get to play more with my dress form!
grainline scout tee
Pattern: Grainline Scout Tee
Size: 12 (I think)
Fabric: Light green Swiss dot cotton from Mood

This is the first (successful) article of clothing I've made as an adult. I started it in February of 2013, and I remember trying to suss out the bias neckline while watching the Oscars. No joke - every time I watch an award show now, I have flashbacks to working on this shirt. 
grainline scout tee
grainline scout tee

The fabric is Swiss dot cotton from Mood - and was my first (non-Joann's) fabric purchase. I remember going to the store here in LA, finding this fabric, and then being totally confused as to what to do next. At Joann's there's an obvious cutting area, and Mood had several big cutting tables - but there were no people at them. So I finally asked someone to cut my fabric - to which they were, obviously like - "of course." So funny to remember being scared to buy fabric... I have no such problems wrangling people now.
grainline scout tee
grainline scout tee
I French seamed the whole thing - something I don't like to do now!

This shirt was very well worn, until it's demise... Some ash fell on the shirt and burned a hole right in the middle front. I tried to patch it... and the patch job is so ugly that I can never wear it again. Oh well! Now it can just live on here... and hang in the closet that holds my fabric. 
grainline scout tee
 grainline scout tee

January 13, 2015

JALAMA BEACH CAMPING // WITH LINDEN & MCCALLS 6613

Right after Christmas, Jeremy and I went on an overnight camping trip with friends to Jalama Beach - near Lompoc and about 2.5 hours north of LA. Four of our friends met up with us for the night - which was freezing cold (about 38 degrees - which for Southern California is just about as cold as it gets).

As a child, we camped often (and had a pop up camper), but I've found it hard to get into as an adult. Something about sleeping in a tent (especially when it's cold) - and not having my mom making amazing camping meals turned me off. However, I shouldn't have worried so much because my friends all love to eat good food! We had duck stew, Moroccan beef kabobs, and bacon, eggs and French press coffee. The only "roughing" it part came from freezing our asses off (but we built a big fire to offset the cold a bit).

Jalama is such a great beach and campground - you can even camp right on the sand. The beach is very otherworldly - rocky with constant waves (there were lots of surfers in full cold water gear), and surrounded by very high cliffs. I'm not from California originally, so I haven't been to too many beaches outside of cities, but I think Jalama Beach is the most beautiful beach I've ever been to here.

Pattern: Grainline Studio Linden Sweatshirt, View A
Size: 10 (bust), 8 (waist), 12 (hips)
Modifications: Omitted bottom band, lengthened by 3" and hemmed
Fabric: Red sweater knit from the Michael Levine Loft
Worn with: My newest pair of Ginger Jeans!

There's not much to say about Grainline's Linden pattern that I haven't said before - just that it's very versatile, and very much a wardrobe staple pattern. In November, I made two Lindens and one Hemlock on a Sunday, and this was one of them (you can see the other Linden in the photo at the bottom of the post).

The sweater knit fabric came from the Michael Levine Loft on the most magical day there ever. I bought several sweater knits and have made 2 pairs of True Bias Hudsons (one of them is in the photo at the bottom of the post) in addition to the Lindens.

The Linden at the bottom was made as instructed in View A, while this red one has no band at the bottom. I lengthened the bottom of the front and back pattern pieces by about 3" and hemmed at 1" with my beloved Wonder Tape and a zigzag stitch.  It's sort of the best of Views A and B combined, in my opinion.
Pattern: McCalls 6613, View D
Size: Large
Modifications: None
Fabric: Blue and red plaid flannel from Jo-ann's (not available online)

A few months ago, a random trip to Jo-ann netted this amazing flannel for another version of Jeremy's most TNT pattern - McCalls 6613. I also picked up some of this flannel for myself in a green and blue colorway and made an Archer with it - which came out very lumberjane (and I'm wearing it as I write this!).

I made no changes to this pattern (I always use View D), and meticulously lined up the pockets to match the plaid pattern - using Wonder Tape to help with placement (how amazing is Wonder Tape?!).

Jeremy has deemed this his favorite plaid shirt to date - which I can appreciate, because this flannel is surprisingly stable and was easy to use. Flannels for his other two shirts have been very squirrelly to line up and sew straight.

And now I'll leave you with more photos from our camping trip!

January 9, 2015

GINGER JEANS PT. 2 // AKA HOW I NEVER BOUGHT JEANS AGAIN...

And bonus Linden Sweatshirt!

Pattern: Closet Case Patterns Ginger Jeans
Size: 10, View B (high rise)
Modifications: Took a slight wedge from the back yoke and waistband
Fabric: Cone Mills Denim from my denim kit
Worn with: A new Grainline Linden Sweatshirt in cream French terry (a different version talked about here)

I have finished a second pair of Closet Case Patterns Ginger Jeans, and I'm officially never buying jeans again. Thank you so much, Heather Lou for creating such a wonderful, amazing pattern!!

These pictures were taken right after Christmas on a camping trip with some of our friends to Jalama Beach - where it was below 40 degrees at night... oof. More pictures from that trip (with more me-mades) to come! Also seen here... a bonus Christmas hat - which looks cooler than I thought it would, if I do say so myself :D

I spent most of my last post talking about construction and general info, so I figured I'd kick this off with a bit of that - but mostly just straight up love for this pattern.


For my previous pair, I sized down 2 sizes (from a 12 to an 8), but this Cone Mills denim seemed less stretchy than my other denim. Heather Lou also mentioned that this denim is supposed to hold it's shape well (see here for more details), so I only sized down one size. And thank goodness I did - because any tighter would've been way too tight.

Construction, overall, went much better this time - resulting in better front pockets (I think my pocket lining on my previous pair has sort of a twisted grain), better topstitching (I only used my newer machine with guide feet, rather than my squirrelly old one), and just overall better quality (since I knew what I was doing).

I will admit to screwing up the waistband a little (guess I didn't need a wedge out of the back after all), and it's a bit too tight... But I can always unbutton the top button after a big meal (don't tell me you don't do that!).

 Okay - here's the nitty gritty, and the real deal. You need this pattern. If you're a confident advanced beginner, or a more advanced seamstress/seamster/sewist with a fear of jeans - you must get this pattern! I think with a lot of patience, and attention to detail, pretty much anyone can make these. The pros way outweigh any cons (the only one being time required).


I have never felt more confident, more comfortable and more *ahem* shapely in a pair of pants EVER. Heather Lou really did her work on these, and the fit and flattering-ness are off the charts amazing. Her sewalong is totally ace, and she really holds your hand throughout the entire process (between the sewalong and the instructions, you really can't screw up... too much).

So arm yourself with beautiful topstitching thread (I'm using a dark pink on my next pair), a seam ripper (you'll need it, trust me), and a lot of patience - and make thee some jeans.